Sunday, July 22, 2012

Hand Stitching for the Week

Five weeks ago I joined with Kathy, from Kathy's Quilts, to blog about hand stitching. You know, it's all about slowing down our lives and enjoying the quiet time while we slowly make progress. It doesn't matter what kind of hand work you do, you just need to do some.

So my hand stitching for the week consisted of mostly hand quilting, my favorite thing. I was able to quilt 11 more print units, that's a total of 16 our of 56. I also quilted 2 background units, only 40 more of those to go. This is one of the yellow ones from this week.


 I didn't do much in the way of hexagons except to make one flower (3/4" hex's) and basted one 1" hex. It will be interesting to see what next week brings.


Enjoy your hand work.

Sunday, July 15, 2012

Hand Stitching for the Week

Yes, I did get the binding sew on, then I was able to get the binding all hand turned, and today I sewed the label on. It is done! I named the quilt, "Oh My Stars! There Are Stars!" My daughter tells me I should be naming race horses instead of quilts. I think she is poking a bit of fun at my quilt names. This is it, folded in half and tossed over my platform rocker.
53" x 84"
After making some phone calls I found out the year was 2004 when a small group I was in decided to exchange the blocks. I feels so good getting another UFO box totally emptied.

Other than that, I was able to baste a few hexagons from scraps I consider too small to keep. Most are 3/4" hex's with a couple of 1" ones. They were added to the shoebox.
Then is was time to start quilting on my next quilt. I found out it had been pieced in 1992. Since then it has been hanging around on a hanger in one of the upstairs closets.
63" x 72"
It took me a few days to decide on the quilting design and thread colors. But I did get it started and have 5 of the print blocks quilted. I'm using a pretty matchy thread color to each block. I tried using more contrast in the thread but didn't like the first block that way so I took it out and started over. At this point it's OK. Maybe I will like it more, with more blocks done.
Remember the machine quilting you see is the basting. I have a long-armer baste my quilts for me. I take out her stitching as I go. Well, it's been a good, make that great, week. Enjoy the process.


Sunday, July 8, 2012

And Other Things


Besides hand quilting and working with hexagons I did accomplish getting the backing washed, cut and sewn together. I also got the binding cut, and I made a pillow case to go with the quilt. The main pillowcase fabric is the quilt background fabric, the accent is the binding fabric. It's all on a hanger together waiting for the quilt to be taken down from the shop design wall.

Boy, do I have a lot to learn about pictures and camera's. I understand the background fabric in the two pictures does not look like they are the same, but trust me, they are.


Hand Stitching for the Week

Of course I did not get as much done as I wanted, but isn't that always the case!

So, back to what I did get accomplished. Yes, I finished quilting the last few blocks in the quilt I was working on last week. Yes, I did get the out side edge completely quilted. The binding got made today so the goal is to get it machine sewn on and then I will start work on the hand turning part.

My other "setting" time last week was spent basting hexagons and sewing one flower together that will be added to Hex quilt top #1.


Scrappy Hex Quilt #1

Yes, I hate to admit it but I have enough started hexagon quilts in progress that I need to number them. This is my scrappy flowers. All seven fabrics in each flower are a different color, for example 7 different red,seven different yellows, or seven different blues, etc.

Wednesday, July 4, 2012

New Quilt Top

It seems like forever since I actually started and finished a new quilt top in the same year! I've been working on UFO's for the last couple of years and starting something new was getting to be a real hankering. So my stars must have been in alignment as I decided last month to make a quilt out of a new magazine subscription I signed up for.

First about the magazine. Name is Modern Quilts Illustrated. It is written, illustrated and produced by Weeks Ringle and Bill Kerr at the Modern Quilt Studio in Oak Park, IL. I have seen several of their patterns in some of the other magazines and I have always liked them. I guess, because they use lots of squares and rectangles they suit me to a tea. I decided to use the first pattern in the magazine, it is called Stacks. Of course I could not follow the directions exactly so I made a couple of changes.

For fabrics, I pulled out a "why did I buy this" hunk of fabric from my stash to use as the starting point only.

 Then started pulling reds that would go with it. Then I pulled a pretty neutral from the shop. I have a hard time naming fabric colors but I'm going to call it a light butterscotch. (It always makes me hungrey for ice cream when I'm working on it.)

I should probably use the original fabric for the backing but I don't think I will. I may use it for the binding.

This is what I want to use for backing.
With all that said, here is the quilt.
Quilt size: 50" x 82"

In the next few days I will cut my back and get it ready, then cut the binding strips and label them. Then it all goes on a hanger until that "someday" in the future when I will find the time to hand quilt it, and that may take a while as I have two quilts at the longarmers waiting to get basted right now. I will say it was a lot of fun picking out and making this quilt all at one time. I need to do that more often.


Monday, July 2, 2012

Hand Stitching for the Week

My hand stitching for this week was more hand quilting. Last week I had just over half of the blocks quilted, this week I had 28 blocks left to quilt on Sunday morning. I quilted more yesterday and my total blocks left to quilt is now, just 6 blocks.

When I get those 6 blocks quilted, I will then quilt around the outside edge at 1/8" so that it will be under the binding. Years ago, when I was a new quilter, I read in the National Quilt Association magazine that if you wanted your binding to lay smooth you needed to quilt the outside edge just like you quilt the center of your quilt. It made sense to me so I have always taken the time to do it, too.

Sunday, June 24, 2012

Oh My Stars! There Are Stars!

One of my favorite blogs to follow is Kathy's Quilts. She has decided to start a Sunday link up of hand stitching. Now that's up my alley. But do I know how to "link up" or even how you go about learning? No! So I'll just show you what I've been doing.

My current hand quilting project is from the past. It's from about 10 or so years ago. Then I was  is a group called the Needle Nuts and we decided to exchange blocks found in the book Nickel Quilts by Pat Speth & Charlene Thode.

I haven't a clue how many blocks we traded each month or for how long we traded blocks. We just did! During the winter I decided to dig out the blocks and put them together into a top. Then sent it out to the local long-arm lady and she quilted a grid thru each block. That's my way to baste a quilt together, and it doesn't hurt my back at all. (You are suppose to chuckle to yourself now.)

First thing I did was quilt two rows across the middle of the quilt, then two rows down the center. Now that the quilt is divided into 4 parts I am quilting each section. I can now brag that I have two sections done and am working on the third one.

Yeah, I know this is way more info than you wanted to know but I just had to explain. Now for the pictures.


 The blocks finish 4-1/2 inches. My quilt is 12 blocks wide and 19 blocks long. Good gosh, do you realize that's 228 blocks! 


I'm doing the "Big Stitch" hand quilting in a neutral color of thread on the prints, nothing on the light triangles. Except (yeah, I had to make an exception) I have quilted the entire star shape on three bright purple blocks. I love those!

It will be interesting to see how far along I am by next Sunday.


Sunday, May 27, 2012

A little of this, a little of that!

14" square

I can't remember when but sometime within the last few months I took a fusible applique class. Why? I think I just needed an excuse for a day away from home.  I did this class the easy way, first I bought a kit from the teacher, second I had a very good friend (Joan) sitting at my table. It went like this, the teacher taught the class and Joan was my private tutor. It's a big apple and will look great on the side of a tote bag. Yeah, I know what your thinking, "but Jo doesn't make stuff like table runners and tote bags." You're correct, I don't, so we shall wait and see on this one. Guess that's why I am showing you a picture now as you may never see it if I wait for the finished project.

29" x 34"

At the last Maquoketa guild meeting the shop owner from Spools & Jewels, Cascade, offered a fat quarter and a pattern to anyone that wanted to make a doll quilt. We had to add a second fabric and the background.

I like zig-zag patterns, in fact, the quilt on our bed right now is a scrappy zig-zag. But this one is made using squares, there is not one half-square triangle in the whole quilt. Did I follow the pattern exactly? No, I added a row of background squares in the middle and I used all the rectangles I could cut from the fat-quarter I was given, so my quilt is going to be a little larger than most. Oh well, maybe some little girl actually plays with a bigger doll.

Wednesday, April 18, 2012

How Many Pinwheels?

In one of the blogs that I sort of follow, there was a post about sewing in solids. Now I have a whole bin, one of those Sterilite plastic bins that are approx. 16" wide x 26" long x 14" high, totally full of solid fabrics. Have I used any of them lately? The answer to that question is NO! Not in forever or so it seems.

Combine that with the desire to make a mini quilt for the mini quit auction at the upcoming quilt show in May for the Cable Car Quilters Guild, Dubuque, IA, and you have a perfect fit of making a "twoferone" project. I just love those, don't you?

18" x 18"

And what you see is what developed. But that really isn't a lavender in the center, it's really a gray. Don't know what happened inside the camera but use your imagination and your mind will see it as a gray. Yes, it's hand quilted "Big Stitch". It was fun, it makes me want to get in and play with my solids even more but that will have to wait.

I dug into another bin the other day and after the sorting through process, I came up with 5 projects in various stages. 1) is just a single block. 2) is two blocks. Both of which I want to continue making until I have enough blocks to make into a quilt. 3) are blocks sewn into strips that need to be sewn together. 4) is four blocks that I will finish off as a doll quilt. 5) is a center that I pieced from 9-patches, I just need to add a black border, then the next border is made from blocks I won at a guild block raffle.

Will I do them all right now? Probably not but I hope to get the strips sewn together first, then finish up the doll quilt. Then get the parts and pieces of the raffle blocks together. If I get that accomplished I will feel like I am a winner.


Have a good day.
JoQ


Wednesday, April 11, 2012

American Quilter Magazine blog

You can check out my quiltmobile on the American Quilter Magazine blog at www.quiltviews.com. Oh, what fun an old lady can have with a cute little car.

Tuesday, April 10, 2012

National Quilt Association Website

This is just a note to let you know that I am the Spotlighted Member on the National Quilt Association website for the month of April. (www.nqaquilts.org)

If You Are Truely My Friend Then Do NOT Gift Me Any Of Your Scraps!

I know it is nice to receive gifts but . . .

Consider that I have been a quilter for 30 years, consider that I now own a small quilt shop, consider that when I buy fabric I buy what I like and therefore, some of almost every bolt has to go into my stash, so just imagine how big my stash is.

Now my question to you is; why would one of my friends give me packages of her scraps? Well, the good news is they were all packaged into baggies of the same size pieces, that does help.

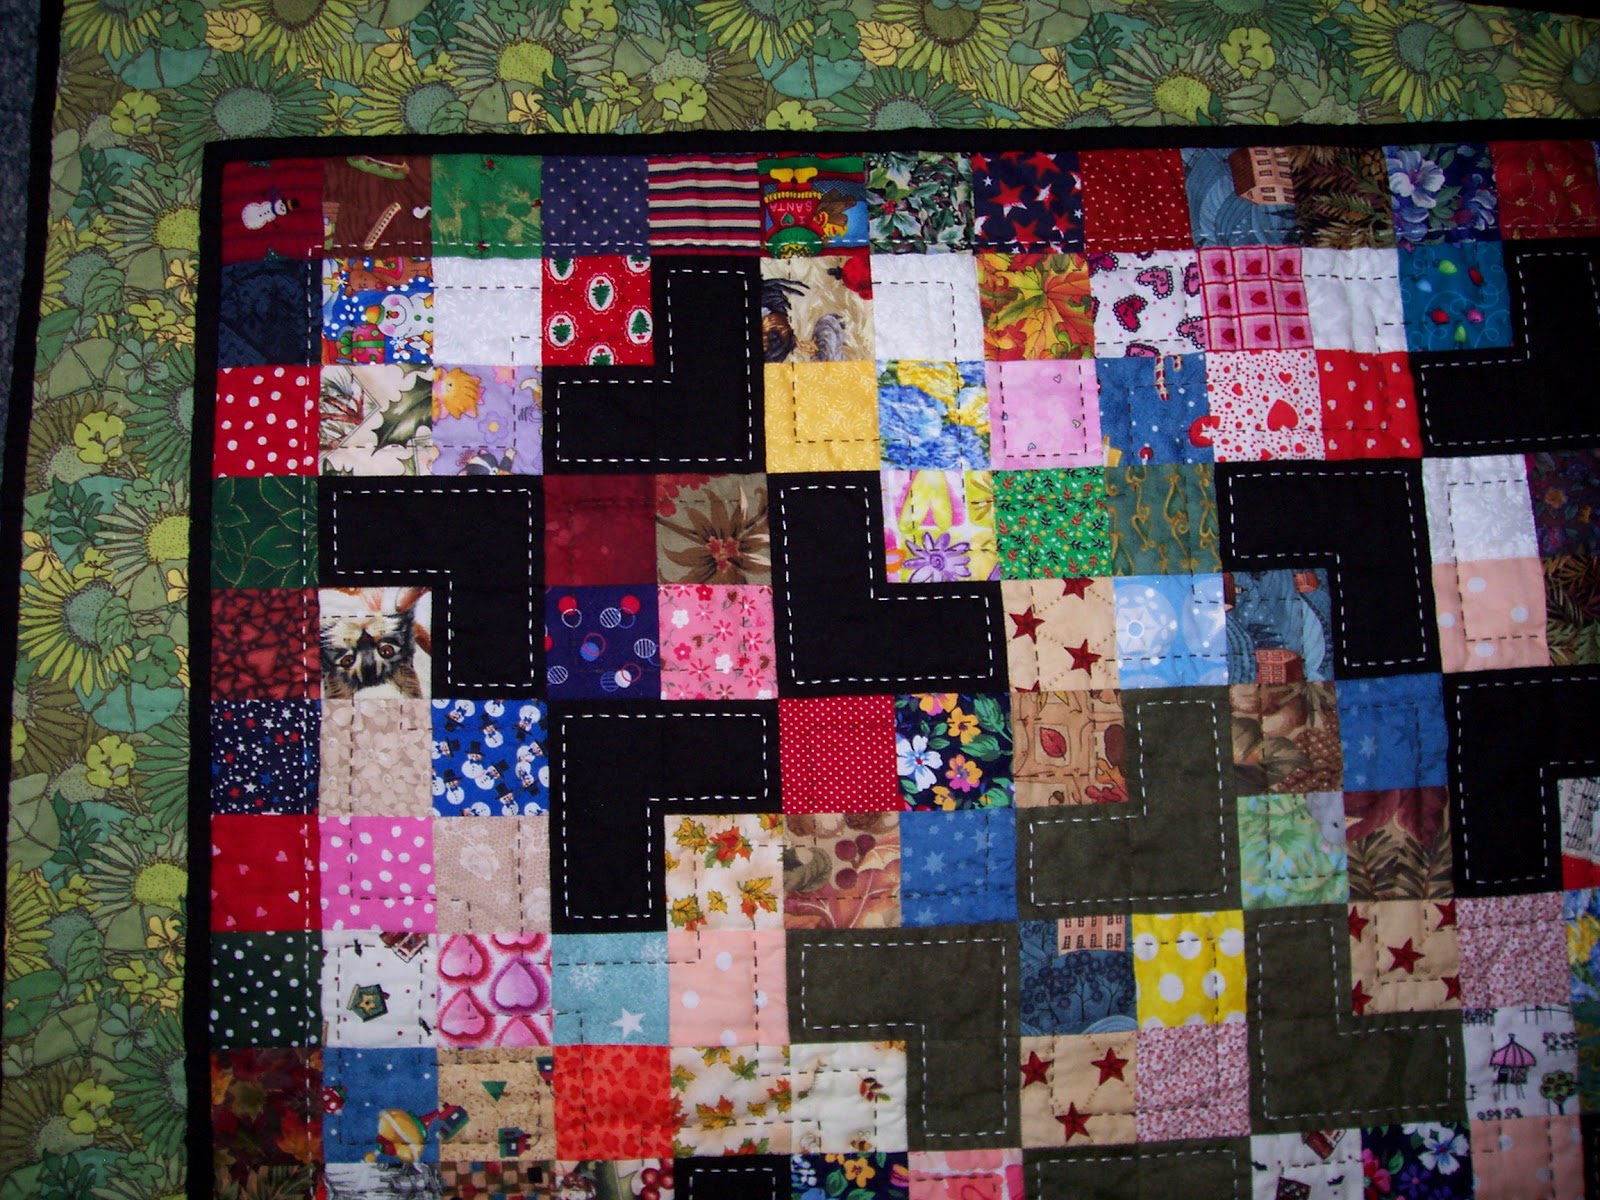
After getting the last machine piecing project done I was having a hard time deciding on what to do next so I went into my basement, looked over the shelves and noticed a bag that looked like it had little 2" or 2-1/2" precut squares in it. I figured that they could easily be sewn into 16-patch blocks so I brought them upstairs and started in. I wish I had taken a picture of the little bitty sandwich bag totally stuffed full.


First off, I found that the bag has a bunch of the green check squares and fabric that was an orange and green watermelon print. I decided to sew those first. Then that got boring so I started sewing the bright bits together. I'm still sewing on these but I did get the check/watermelon blocks done and have a total of 15 blocks. Once I check the size of the little squares I found out they were cut at 2-1/4" (now why would anymone cut blocks that size?) so they finish a 7" square. By framing and sashing the block and with a small border I will be able to stretch these into a 40" x 60" inch quilt.

I guess I could have thrown these little devils away or I could have donated them to a guild charity group but, if you know me, you now that I can't throw fabric out or even donate it if it's not sewn together. I just have to "do it myself"!

So my friends, if you want to remain my friend, do not EVER give me a gift of your scraps! (Yes, Joan T. I am talking to you.)


Friday, March 9, 2012

The quilt has a name, "My Puzzle Quilt"

   It's done!

   I'm done with the quilting, done with the binding, done with getting the marking lines out, done with the label, done with the sleeve, and now . . . done with the pictures. Wow! Doesn't that feel good!

   Back on June11, 2011. I talked about having the piecing all done. The quiting was finished either the end of December or the first part of January. I guess my memory must be getting bad as I don't remember for sure, maybe I should start keeping better notes.

The quilting and the backing fabric.

My Puzzle Quilt
63" x 79"
   The original idea for this quilt came from the book Create A Quilt by Joyce Mori. I took the book home as part of the book challenge for the Maquoketa Town & Country Guild Guild. The scrappy fabric was from a 6" fabric exchange by the same guild the year before. Oh, it is so much fun to combine two projects into one! I cut the 6" squares down to (4) 2.5" squares making them finish at 2".

   Have I told you lately that I don't like making borders for quilts any more. It was so much fun to incorporate a border into the block piecing. I'm going to do this more if it works with the design, either that or I won't put a border on at all, like they used to do.

Have a great day, I'm going back to my sewing machine for a while. 
Jo

Sunday, February 19, 2012

My Other January Project

As usual, I had a "Big Stitch" hand quilting project that I was working on. If you know me you know that I like to spend at least some part of each day quilting (not that I always get to). It's my stress reliever. Here are a few pictures to show you what I was doing. Half of the quilt is blue blocks the other half  are brown.


The quilt started out because I came across 22 - 6 inch squares from a collection called Lasting Beauty by Classic Cottons. Now I don't make wallhangings any more because I have no wall space left. I don't make large (king/queen) quilts anymore because I don't need anymore bed quilts. What I like to make are nap/twin size quilts. What I call useful quilts. So the challenge was to make that size quilt out of the 22 blocks. First I added to the squares to bring them up to 11 inches, then I added sashing. The quilt center is 4 blocks wide and 5 blocks long. Two of the 6" blocks got tossed.

Next challenge was to figure out how to make it longer. Well, that was simple, just add some 9 patch blocks and a couple of borders. Next is a picture of the border after quilting.


I accomplished my goal. The finished quilt is 61" x 86". (If I had just sewn the blocks together it would have been 22" x 27-1/5". I must say I am pretty proud of myself on this one.

Now I need to bind it but I haven't been in the mood so we will see when that gets accomplished. After the binding is on I will post a picture of the finished quilt.

Enjoy your day! Jo

Thursday, February 16, 2012

The month of January

In the first place, I can't believe that the whole month of January and half of February has gotten away from me and I didn't posted any new blogs.

Then, when I looked back at what I had gotten accomplished it was even harder to believe that I had gotten so little done. Where does time go? I remember as a child that days were so much longer. I can't have slowed down that much in my old age. Or could it?

Anyway, I only have two pictures to post for January. The first are paper pieced log cabin blocks that I volunteered to made for a friend. They are made using the Fossil Fern Collection from Benartex. (Remember, I carry all 100 colors in the shop.) This picture was taken before the papers were trimmed and there are four blocks in each colorway. If my math is correct, that makes 48 blocks.


Now, you're probably saying that I didn't do too bad making 48 blocks in January but the whole story is that most of them were made before January ever got here. I just finished up the last few groups in January.

Then came January 21st, I started feeling a slight burning sensation on my left side. By Wednesday the 25th it was worse so I decided I wanted to go to the doctor, of course I couldn't get an appointment until Friday the 27th, then it finally dawned on me what I had. Yeah, the Doc confirmed that I had Shingles. I really didn't feel like getting much of anything done at that point although I did sit in my rocking chair and do some hand quilting. More on that in the next post.


These are the flowers that were delivered to cheer me up. Thank you Joan T.